0 ItemsView Cart
August 20, 2021
A reliable generator that can give you power in a pinch is great to have. But anyone with a generator knows how loud they are.
If you’re using a generator around the campfire, for an outdoor gig or at home while waiting for the electricity to kick back on, you’ll want to limit the noise it makes.
A DIY soundproof generator enclosure is a low-budget solution that’s easy to build and does the trick.
If you’re preparing to build a DIY generator sound enclosure, there are a few things you will want to keep in mind. Other soundproofing methods can completely enclose the space, but with generators, you need to ensure there’s enough airflow and ventilation for it to operate safely. Generators produce a lot of heat, so you will need to consider the unit’s height and width and make sure any soundproofing materials you add aren’t too close to the walls.
Determining how to make a generator quiet box has its challenges, as the best soundproofing methods to use will vary based on your material options. If your generator enclosure is made out of metal, it’s important to dampen vibrations and sounds. You will want to make sure the enclosure is decoupled from the floor with rubber mounts. Though a wood enclosure is inherently quieter, rubber mounts are important for this material as well.
While you don’t need to add a lot of mass to any type of generator box, bear in mind that incorporating more absorptive materials can help block noise from escaping.
Materials to Build a Soundproof Generator Enclosure
Here’s everything you’ll need to build a soundproof generator box:
- Medium-density fiberboard (MDF)
- Mass-loaded vinyl (MLV)
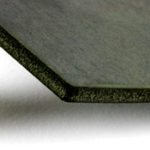
- Acoustic foam
- Ventilation duct
- Green Glue
- Acoustical Sound Sealant
- Circular or table saw
- Drill
- Tape measure or ruler
- Paper and pencil
Building Your DIY Soundproof Generator Enclosure
Generator enclosures are easy to build — just follow these steps to create the best soundproof box for your generator.
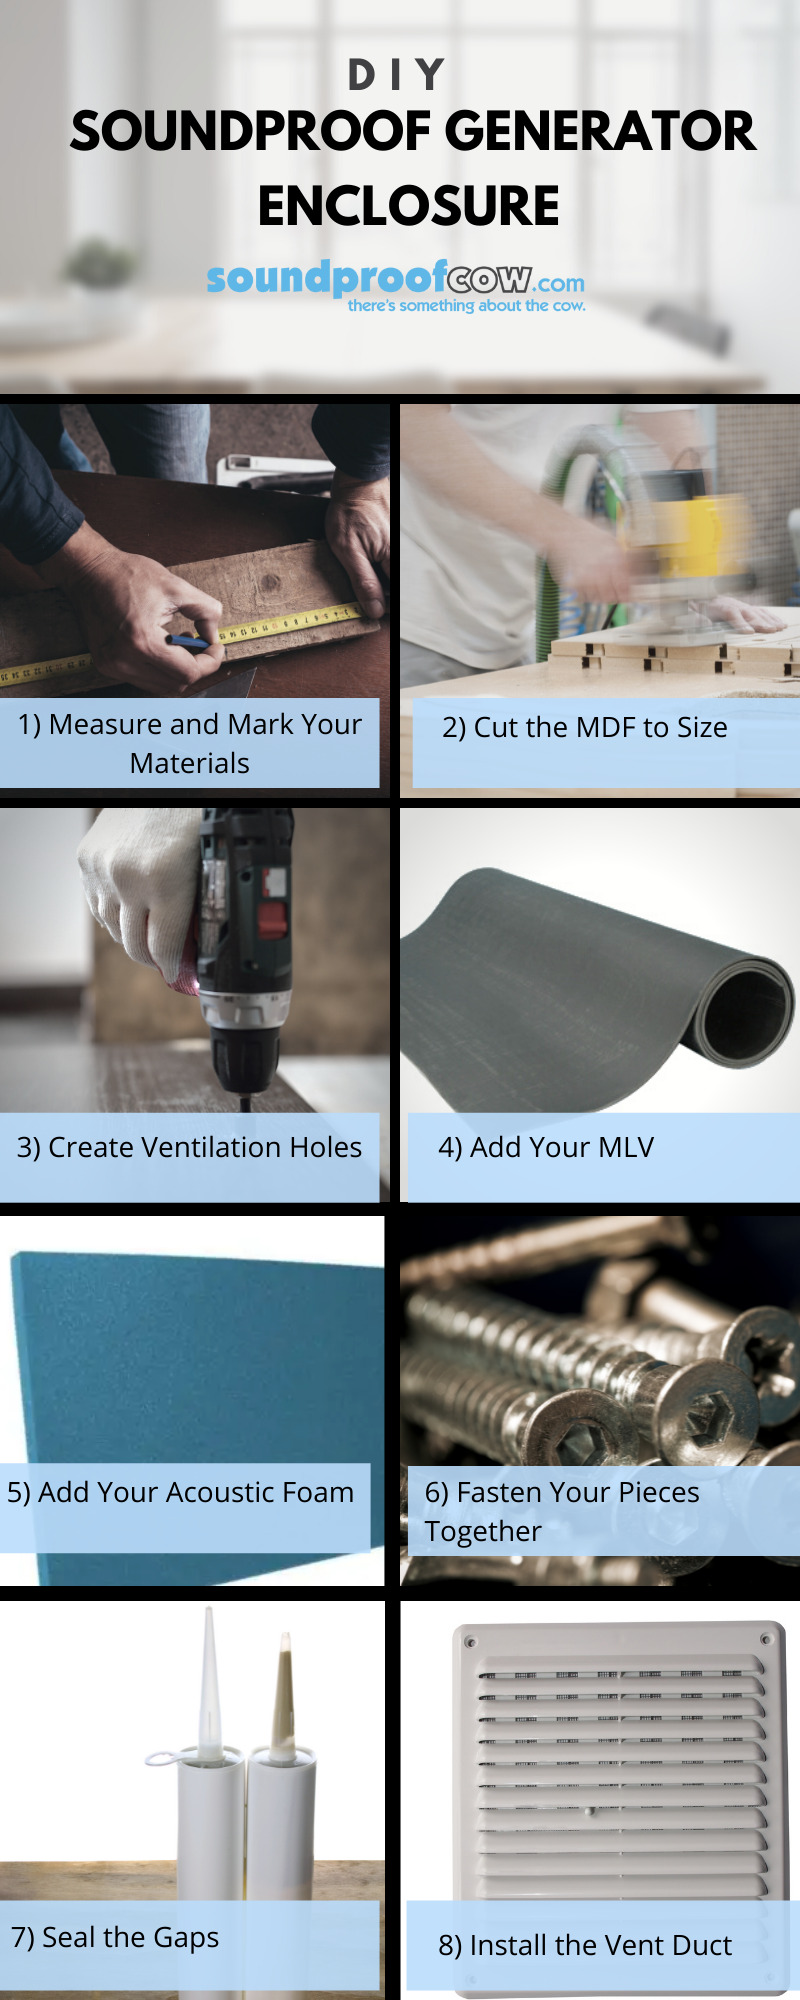
Step 1 — Measure and Mark Your Materials
Generators come in all shapes and sizes, so measure your MDF to ensure yours will fit in its box. Be sure to double- or even triple-check your measurements.
Mark lines on your MDF with a pencil and record the measurements on paper in case you forget.
Step 2 — Cut the MDF to Size
Use your lines as a guide to cut your MDF to the perfect size with your circular or table saw.
Unless your box is a perfect square, you’ll need two pieces for the floor and ceiling, two for the long edges and two for the short edges.
Step 3 — Create Ventilation Holes
With your boards cut and ready to go, measure two holes large enough to fit the ventilation duct — one on the piece that will be the box’s lid and another on one of the sides.
The lid hole should be closer to the top piece’s edge than its center, but choose the edge furthest from the side ventilation hole.
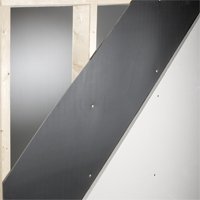
Step 4 — Add Your MLV
Generator motors produce a lot of airborne noise, so install Mass-Loaded Vinyl sheets inside your box as a reflective layer.
Cut the MLV to cover the MDF’s interior surface and use Green Glue to stick it in place. Next, cut ventilation holes into the MLV.
Shop Mass Loaded Vinyl Barriers
Step 5 — Add Your Acoustic Foam
MLV addresses airborne noise, but now you need something to reduce impact noise — the sound your generator produces from vibrating on the ground.
Cut and install acoustic foam panels inside your box using Green Glue as your adhesive. Once again, cut ventilation holes.
If you would rather use an insulation batt instead of rigid foam panels, Quiet Batt® Soundproofing Insulation is a denser alternative that fits well in the enclosure’s interior cavity.
Step 6 — Fasten Your Pieces Together
With six MDF/MLV Composite sheets ready to go, it’s time to screw them together. Only fasten your five base pieces — leave the lid detached or add hinges for extra credit.
Step 7 — Seal the Gaps
Your DIY soundproof generator enclosure is nearly ready to go, but there may be cracks along the edges where sound can pass through. As a finishing touch, add Acoustical Sound Sealant to fill in any cracks.
Step 8 — Install the Vent Duct
As your final step, run your vent duct through the two ventilation holes and make sure it fits as tightly as possible. Try to leave multiple bends so the soundwaves have a greater distance to travel.
Violá — your generator noise reduction solution is complete!

Benefits of Working With Soundproof Cow
When you choose Soundproof Cow, you will have access to all kinds of soundproofing, sound absorption and noise reduction materials to make your project a success. Our team will work with you to determine your soundproofing needs and goals and choose the solution that works best for you.
Unwanted noise from your generator doesn’t have to be something you live with. We have the highest-quality materials available and will do what it takes to make sure you are completely satisfied with the results.
No matter which soundproofing solution you need, you know you are getting the best deal when you get in touch with us. We offer high-quality products at competitive prices. You can find additional savings through the following programs:
- Forever Sale, which offers 10% off for veterans and active service members.
- No Bull Sale, which provides access to deep discounts to help you save.
- Moola saver products to help you soundproof your space on a budget.
Ready to Build a DIY Soundproof Generator Box?
A reliable — and quiet — generator is one of the most valuable additions your property can have. If you’re looking for the soundproofing solutions you need to build a generator box, Soundproof Cow has you covered. In case you have not herd, we offer a free acoustic analysis so we can learn more about your needs and provide you with a more tailored approach.
If you are ready to start creating a more quiet space, we can help you get started. Contact us today to learn more and schedule your free acoustic analysis.

About Ryan Yaukey