

Some sounds fill us with joy, like the starting chords of your favorite song, laughter from a loved one or the beep that tells you your coffee is ready. Other sounds have the opposite effect. Think about your upstairs neighbor’s impromptu dance party, particularly noisy colleague’s meeting, bird karaoke at 4 a.m. or your kids listening to that one TikTok song for the fifteenth time. If sounds are bothering you, it may be time to take soundproofing into your own hands.
Can you soundproof a room? The answer is a resounding YES! The best way to soundproof a room is by tackling every part of it. A solid soundproofing solution includes walls, ceilings, floors, doors and pipes. Luckily, this handy guide from Soundproof Cow makes commercial and home soundproofing a breeze!
Steps to Get Started With Soundproofing a Room
Before diving into the nitty gritty of soundproofing, there are a few factors to consider. Any incredible journey starts with a first step. This particular journey starts with three.
Step 1: Understand the Difference Between Soundproofing vs. Sound Absorbing
Soundproofing stops sound from entering or exiting a space. Sound absorption enhances a space’s sound quality. These two sound-tackling superheroes use different methods and materials to achieve these tasks.
Here is a quick rundown of the differences between them:
- Materials: Sound-absorbing materials are soft and porous to soak up sound waves. Soundproofing materials are thick and dense to create an impermeable sound barrier.
- Purpose: Think of soundproofing as a prison that prevents soundwaves from entering or exiting. Sound absorption is more like a sponge, soaking up unwanted elements like echo and reverberation to leave only good sounds.
So, the first step is to decide whether you want to block noise in a room or improve its acoustics.
Step 2: Identify the Noise Source and Type
Addressing a sound without knowing its source is like swatting a fly blindfolded. Sure, you might get lucky, but it helps to know which direction the fly is coming from.
First, try listening to locate the source of the noise. Is it coming from outside the building, like traffic noise? Can you trace it inside the building, like a noisy HVAC system? Pinpointing the location helps choose the best soundproofing method and materials.
Identifying the type of sound also helps with soundproofing solutions. There are two different types of noise:
- Airborne noise: Sounds like music, talking or that annoying fly are airborne noises. These sounds travel through the air.
- Impact noises: When objects collide, it causes vibrations or impact noise. Examples include construction noises or your upstairs neighbor’s footsteps.
Step 3: Get the Best Materials for the Job
Now that you have identified the noise source and the areas of the room that need soundproofing, you are ready for the fun bit — getting the materials you need.
While wallpapering the relevant room in egg cartons may be tempting, it is best to use proper soundproofing solutions. The products and techniques you use will contribute to room soundproofing success.
Mooove over to how to soundproof walls, doors, floors, ceilings and pipes!

Get Started with our Room Soundproofing Products:
Soundproof Any Area of a Room
At Soundproof Cow, we have the soundproofing products you need. And, we offer high-quality products at affordable prices. When you use our soundproofing products, you can create the soundproofed environment you’ve been looking for — all without breaking the bank.
 Wall Soundproofing
How to Soundproof Walls Soundproofing Methods
To soundproof a wall, you must create a barrier that blocks sound waves. Wall soundproofing can be as simple as arranging furniture or as complex as modifying drywall.
Try Simple Wall Soundproofing Solutions
The simplest solutions are sometimes the best. Try the following noise-cancelling hacks:
- Rearrange the furniture: When a sound wave encounters an object, it reflects, transmits, or gets absorbed. Heavy furniture pushed up against the wall may absorb and reduce noise.
- Give your wall a makeover: Decor may answer your wall noise woes. Try covering the wall with thick wallpaper or hanging a decorative rug.
- Fill cracks and gaps: Use a product like the OSI® Pro-Series SC-175 Acoustical Sound Sealant to fill gaps.
Add Wall-Mounted Acoustic Panels
Acoustic panels are sound-insulating products made of dense materials that block noise. Mounting fiberglass or foam panels on walls traps sound energy and converts it to heat.
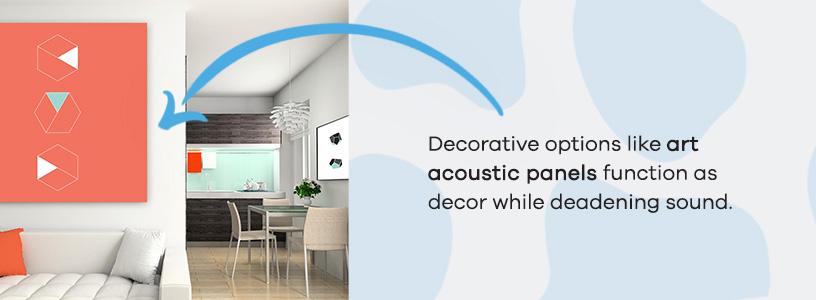
Decorative options like art acoustic panels function as decor while deadening sound. Installing acoustic panels is as easy as A (adhesive) to Z (Z-clips):
- Adhesive: After choosing panel locations, prepare the wall and install mounting brackets. Add adhesive to the back of the panel, bond it to the mounting surface and voila!
- Z-clips: Time to break out the power tools! Screw the Z-clips into the wall, attach them to the panel surface and clip the acoustic panel on. Easy peasy!
Apply Sound Insulation Within the Walls
When you need extra soundproofing power, it may be time to tackle your drywall. Adding soundproofing material inside walls may seem complicated, but it can be simple. Here is a quick breakdown of the process:
- 1. Decouple your wall: Decoupling means separating two sides of a wall. This separation prevents vibration and sound transmission. You can do this by creating a double or staggered stud wall or by using resilient clips and a hat channel.
- 2. Add sound insulation: Insert a material like Quiet Batt® Soundproofing Insulation between the studs and seal. The dense material lessens sound and energy transmission.
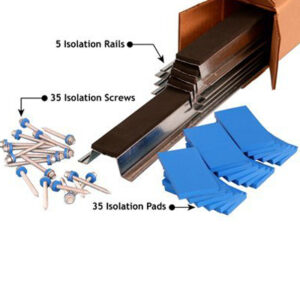
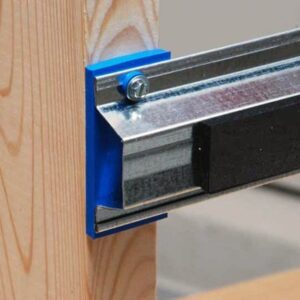
- 3. Install a soundproofing system: Place the isoTRAX® Soundproofing System over the soundproofing barrier layer. The system includes rails for decoupling the wall and 18 sound-deadening pads.
- 4. Include acoustic panels: Add Echo Absorber™ Acoustic Panels between the isoTRAX™ rails.
- 5. Sealed and done: Fill any gaps with acoustical sealant.
Shop Wall Soundproofing Products:
isoTRAX® Soundproofing System
$205.98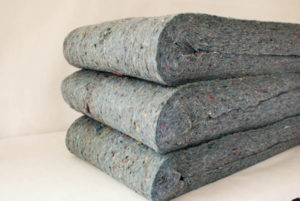
Quiet Batt® Soundproofing Insulation
$115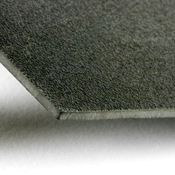
Quiet Barrier® MD Soundproofing Material (Sheet)
$74.99 $68.99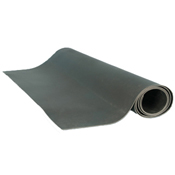
Quiet Barrier® MD Soundproofing Material (Roll)
$194.03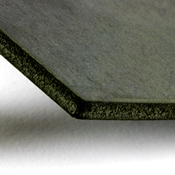
Quiet Barrier® HD Soundproofing Material (Sheet)
$145.99 $137.99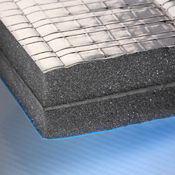
Quiet Barrier® Specialty Composite w/PSA
$209.99 $199.99 Door Soundproofing
How to Soundproof a Door Soundproofing Methods
If you have a couple thousand dollars lying around, you could invest in a soundproof door. Or you could read on for door noise-dampening solutions that cost less mooola.
Seal Door Gaps
Soundproofing a door stops noise from leaking through gaps under or around it. Soundwaves are like ninjas, sneaking through the smallest openings. Doors provide ample opportunity for sound to enter or exit — even when the door is closed. Try these easy soundproofing options:
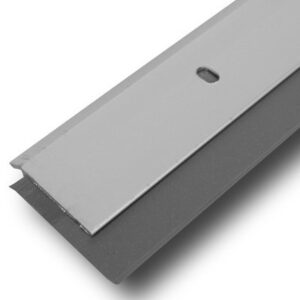
- Install door sweeps: A door sweep fits to the bottom of the door, creating a tight seal. This barrier stops noise from getting in or out. The Quiet Door™ Automatic Door Sweep automatically reestablishes the seal fit over time. Sweeps are easy to install and increase the door’s thermal performance.
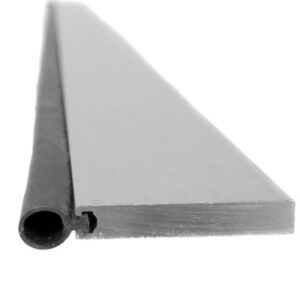
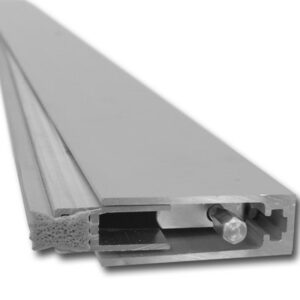
- Seal the perimeter: Noise can enter through the spaces around a door. Weather stripping can seal edges and corners to defend against sound. A Quiet Door™ Perimeter Seal fits around the door to reduce sound transfer and vibration.
- Add caulking power: Use an acoustical sealant like the OSI® Pro-Series SC-175 Acoustical Sound Sealant around the door’s edges.
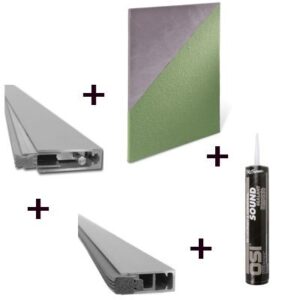
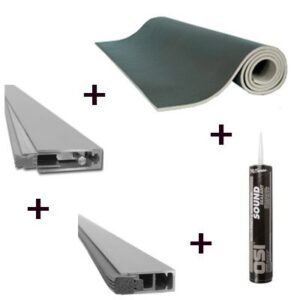
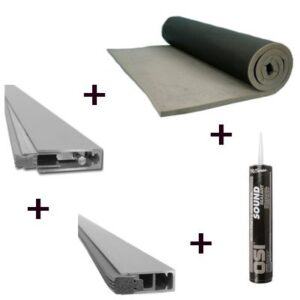
For hassle-free door soundproofing power, get a door soundproofing kit. These handy kits contain everything you need for residential, commercial or industrial door soundproofing.
Attach Acoustic Panels
Acoustic panels are versatile soundproofing solutions for most room areas. The viscoelastic polymer deadens sound, absorbs vibration and decreases echo. Installing a Quiet Door™ Acoustic Panel is as easy as peeling and placing. The dense fabric cover looks good while absorbing sound.
Shop Door Soundproofing Products:
 Floor Soundproofing
How to Soundproof Floors Soundproofing Methods
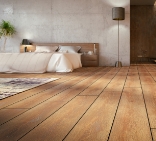
You may need to dampen floor sounds if you have a noisy upstairs neighbor — or are the noisy upstairs neighbor. You have two options for soundproofing floors — the easy way or the underlayment way. Underlayment works if you can access the subfloor beneath the floor’s top layer.
Try starting with simpler solutions for an existing floor without subfloor access:
- Carpets and rugs: Carpeting or rugs can give your room a new look while absorbing sound. For increased sound absorption, consider soundproof carpet liners or rug pads.
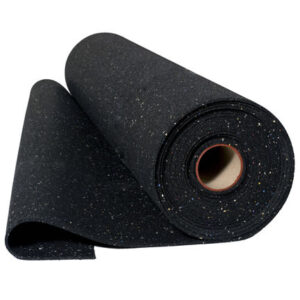
- Rubber mats: Place rubber tiles or mats on the floor to reduce sound transmission and vibrations. Rubber may not be the most attractive option, but you can add a rug on top for improved appeal and soundproofing.
Lay Down Underlayment
You can install underlayment in new construction or renovation with subfloor access. A flooring underlayment sits between the floor surface and the subfloor. Different floor types transmit or reflect sounds in various ways. The best soundproofing underlayment option depends on your flooring type:
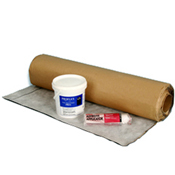
- Tile, stone and hardwood: A rubberized underlayment like PROFLEX™ 90 dampens sound and impact noise. The material works at any temperature without warping or cracking.
- Carpet, laminate and concrete: The Impact Barrier QT Flooring Underlayment reduces noise while extending flooring longevity. This eco-friendly underlayment consists of 92% recycled tire rubber. As a bonus, it resists mold, mildew and compression.
Shop Floor Soundproofing Products:
 Ceiling Soundproofing
How to Soundproof Ceilings Soundproofing Methods
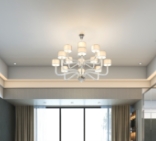
Soundproofing a ceiling involves adding mass to absorb vibrations and sound energy.
Soundproof a New Ceiling
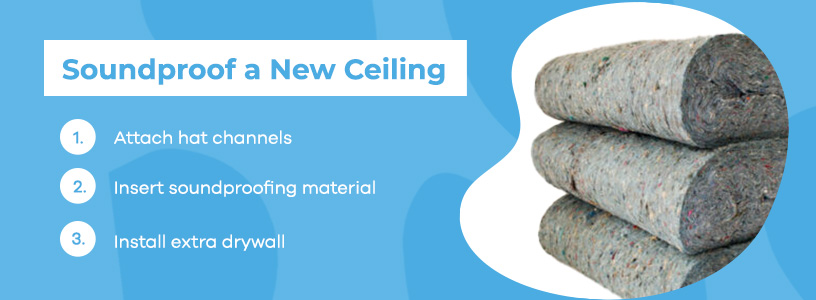
Soundproofing a new ceiling involves decoupling the ceiling, similar to wall soundproofing. It is as easy as one, two, three:
- 1. Attach hat channels: A hat channel is a metal frame for attaching wall and ceiling components. Attach these across the joists.
- 2. Insert soundproofing material: Place Quiet Batt® Soundproofing Insulation between the drywall and joists.
- 3. Install extra drywall: Add another two layers of drywall to finish it off.
You can follow these steps for an existing ceiling if you do not mind ripping up your existing ceiling.
Soundproof an Existing Ceiling
However; great news, you can also soundproof an existing ceiling without tearing it apart:
- Add a drop ceiling: Install a second ceiling with soundproofing material between. Connect hat channels to the existing ceiling and follow the new ceiling steps.
- Indulge in interior design: Well-placed soft furnishings and decor can change how soundwaves travel.
- Hang a sound baffle: Acoustic baffles trap and redirect sound. Hanging a product like the Udderly Quiet® Acoustic Baffle dampens ceiling sound.
- Use soundproofing materials: Other products can pack a soundproofing punch for ceilings. You can apply a sound barrier material like mass-loaded vinyl (MLV) or use acoustic foam as ceiling tiles.
Shop Ceiling Soundproofing Products:
 Pipe Soundproofing
How to Soundproof Pips Soundproofing Methods
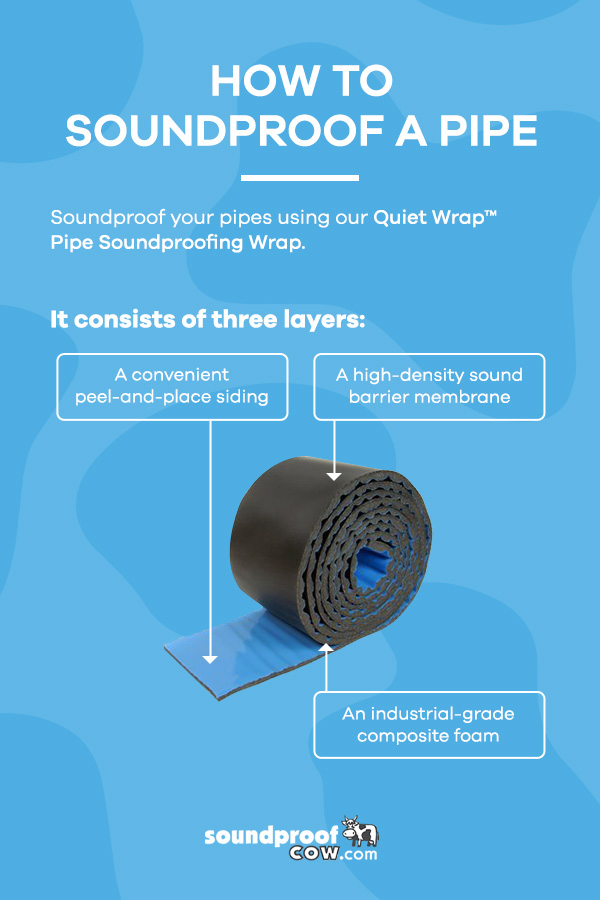
Pipes carry water, air and noise. Luckily, Soundproof Cow makes soundproofing pipes as easy as wrapping a present.
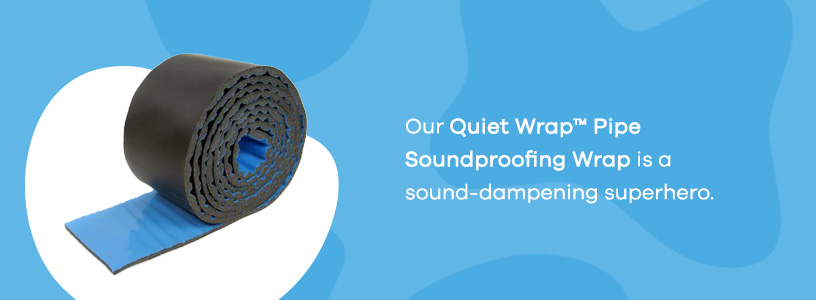
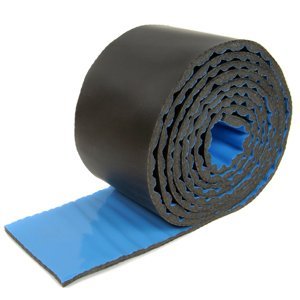
Our Quiet Wrap™ Pipe Soundproofing Wrap is a sound-dampening superhero. Three layers combine to block sound transmission and deaden impact noise:
- 1. The easy-peasy peel-and-place backing
- 2. A high-density sound barrier membrane
- 3. An industrial-grade composite foam
- 1. Measure and cut the correct length of tape.
- 2. Peel off the adhesive backing.
- 3. Wrap it around the pipe and stick it down.
Installing Quiet Wrap™ Pipe Soundproofing Wrap is almost too simple:
Shop Pipe Soundproofing Products:

I have emailed a lot of different manufactures and I have to say your customer service is head and shoulders above all of them. I emailed your company at about 9pm my time and when I woke up the next morning you had already answered my question and then the follow up was a few hours later. I am impressed. Thanks a lot for the quick turn around!
- E. Gustafson

 Free Acoustic Analysis
  Soundproofing Questionnaire