0 ItemsView Cart
June 15, 2023
Table of Contents:
Methods to Install Panels
Tools Needed
Step-by-Step Instructions
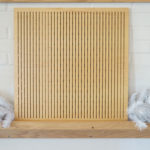
Acoustic panels are a great way to get amazing soundproofing anywhere, and Soundproof Cow has a variety of attractive and highly effective acoustic panels for you to choose from. However, it’s possible that you have some questions about how to install these panels. Fortunately, installing most acoustic panels is usually quite easy, and you can often have them up and in place the same day you receive them without the need for any professional assistance.

Methods for Installing & Hanging Acoustic Panels
You have two main methods to choose from for successful soundproof panel installation — the soundproof adhesive method and the Z-clip system method. Both can provide great results, so choose the one that best meets your needs and works for your unique situation.
What’s usually the best way to install your acoustic panels from Soundproof Cow is through the use of a soundproofing adhesive. We recommend PL® Premium Polyurethane Construction Adhesive. To use this adhesive for installing your acoustic panels, all you need to do is determine where the panels will go and then prepare the mounting surface. From there, you install leveling brackets, apply the adhesive to your panel and attach the panel to your mounting surface.
If you aren’t keen on adhesive, you might prefer a Z-clip system. When using Z-clips, screws attach the Z-clips to the panel and the mounting surface. Then, simply clip them in.
We’ll take a closer look at how to install acoustic panels with both these methods later on. First, let’s see what you need to install soundproof panels.
Tools Needed for Acoustic Panel Installation
The nice thing about these products is that you can mount acoustic panels with a minimum of tools. You can just squeeze the adhesive on the panel or screw in the Z-clips with basic tools you already have in your house. Because most of the fabric we wrap the acoustic panels with is made of recycled materials, you will find them easy to handle, even without gloves, making installation even simpler.
When installing acoustic panels from Soundproof Cow, you get to experience great soundproofing results without any hard construction work required. Both processes are easy and safe.

How to Install Sound Panels: Step-by-Step Instructions
Now that you know the different methods and tools needed for installing sound panels, you need a step-by-step guide to help you complete the task yourself. We’ll walk you through each step of the process so you can be sure your sound panels will stay secure on your walls to provide countless hours of sound enhancement within your space.
Soundproof Adhesive Method
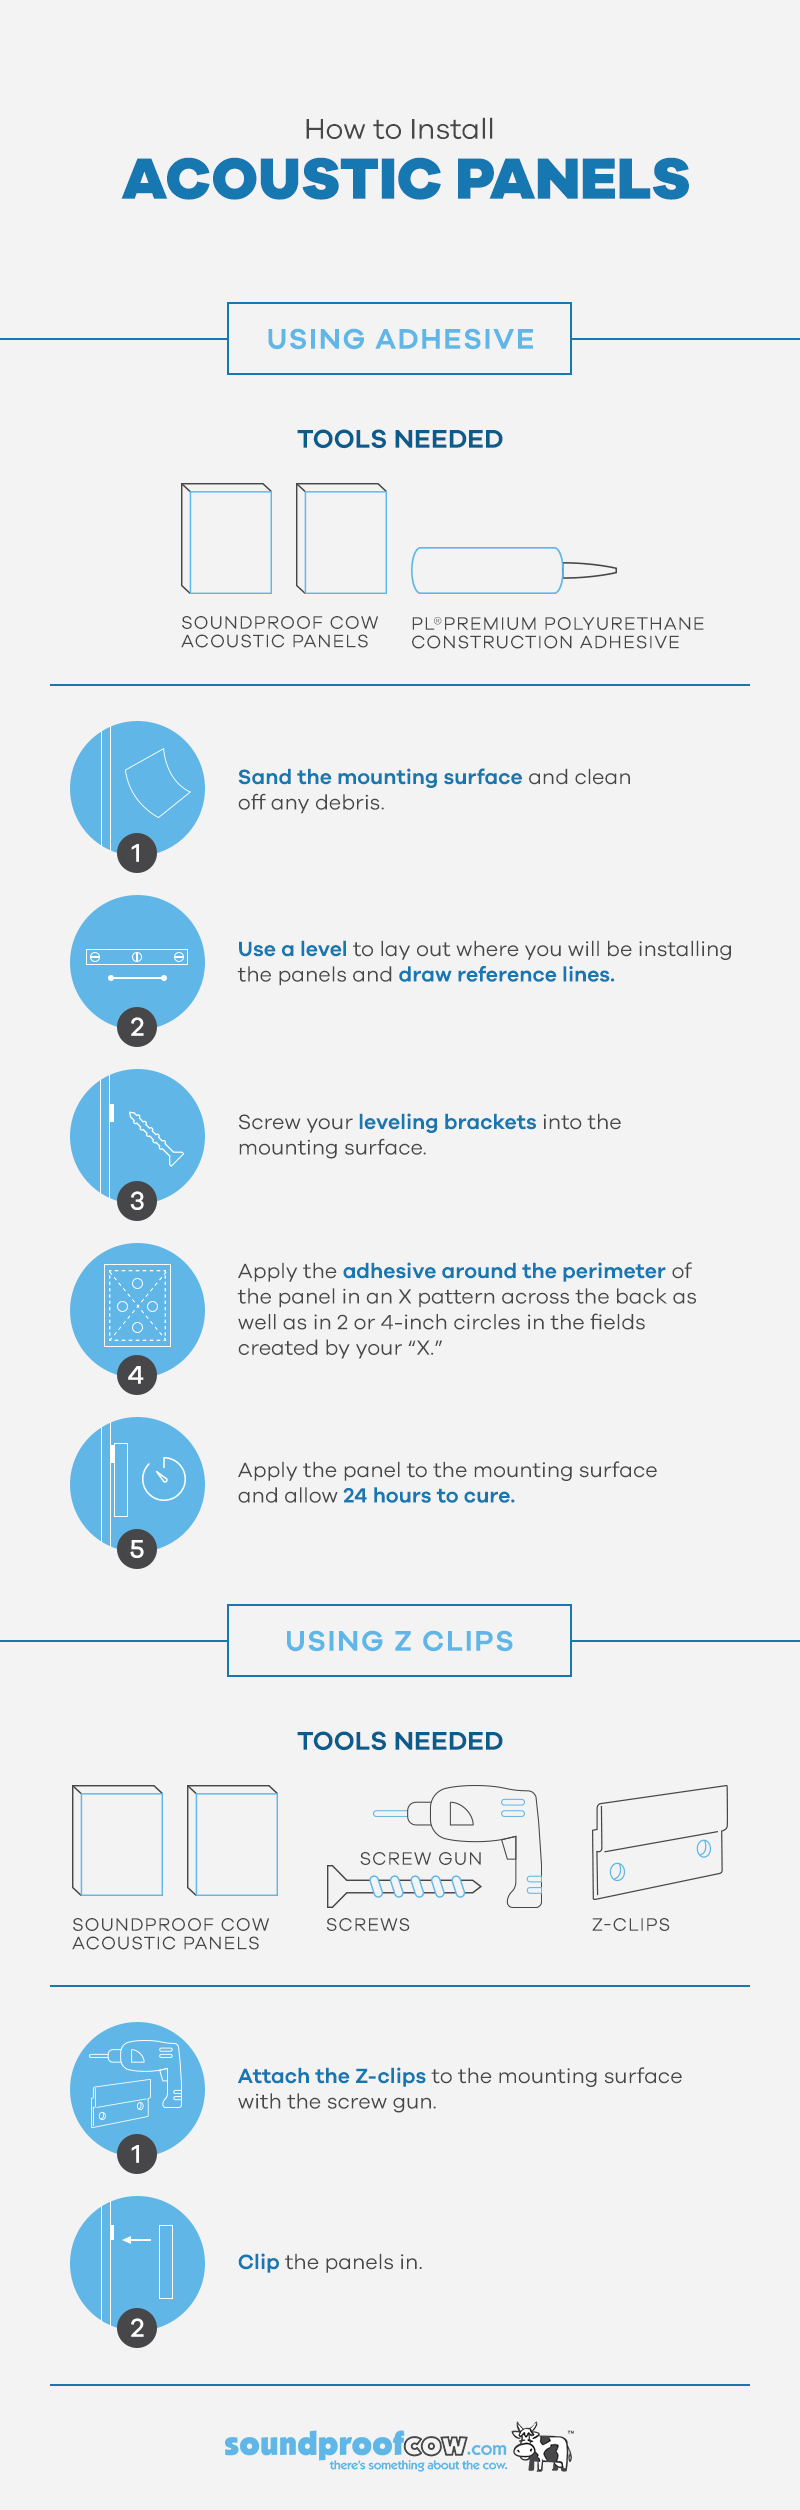
We recommend the soundproof adhesive method for installing Soundproof Cow’s acoustic panels. This process is easy to perform and provides fantastic acoustical results. Here’s how you can do it yourself:
- Sand: Your first step is to sand the surface on which you’ll be mounting your acoustic panel. This evens the surface to prepare it to accept the adhesive’s bonding power. Any high-grit sandpaper will do. After sanding, be sure to clean any dust and debris.
- Level: Use a straight-edge level and a pencil to mark the area where you’ll be placing your panel. Doing this will ensure your panels are straight after you hang them.
- Screw: Next, you’ll screw the included leveling brackets onto the mounting surface. This will help your panels lay the correct way on the wall when you install them.
- Apply: Apply adhesive to the back of the acoustic panel. Start by adding a line of adhesive to the perimeter of the panel about two inches from the edge. Then make an “X” with the adhesive to divide the rectangle into four equal sections. Put a 2- to 4-inch circle of adhesive in each of these sections.
- Install: The final step is to put the panel onto the wall and allow about a day for the adhesive to cure.
Z-Clip Method
The Z-clip method is an easy and fast way to install acoustic panels. But it also involves the use of power tools and is a bit more intrusive to your home or studio’s walls. If you want to rearrange your panels in the future, then this method might be for you. Here’s the step-by-step process for installing acoustic panels with the Z-clip method:
- Level: Make sure you hang the Z-clip level by using a straight-edge level and pencil to mark the location where you’ll install the Z-clip. You can even make small marks in the screw holes to know where the screws will end up.
- Attach: Attach the Z-clips to the mounting surface. Line it up with your existing marks and use a screw gun and screws to attach it.
- Clip: Clip the panel onto the Z-clip to hold the panel securely in place.

Tips for Installing Panels on Ceilings and Walls
Acoustic panels are versatile soundproofing solutions that come in various sizes and types. You can install these products on your walls or ceiling depending on your soundproofing needs. Regardless of where you choose to install them, here are a few tips you can use to ensure a proper acoustic panel installation:
Plan the Placement
The size and shape of your room determine the ideal placement of acoustic sound panels. Noise travels in all sorts of directions and bounces off surfaces, so placing your panels correctly can enhance their effectiveness and transform a room. You will want to install the panels in an evenly spaced fashion to absorb sound coming from different directions.
Avoid putting all the panels in one area, as this placement can make them less effective. Also, when installing acoustic panels on walls, ensure you don’t install them too high because sound will take longer to reach them.
Another factor that plays an essential role in placement is reflection points. Reflection points are the areas that reflect sounds and cause them to bounce back into the room. Before installation, examine the reflection points on your walls and ceilings to find the best spots to place your panels.
Consider the Design
Whether you’re installing acoustic panels in your home, studio or office, you have to consider how they fit into your overall design. Both wall and ceiling acoustic panels come in a range of styles and colors, enabling you to select ones that suit your preferences.
To improve the appeal of any space by using panels, symmetry is key. Installing the panels in a pleasing and symmetrical pattern will improve the aesthetics of the room while adding an extra layer of protection against noise.
Leave an Air Gap
Leaving an air gap behind your acoustic panels can help increase the amount of possible sound absorption.
Having an air gap that is larger than the material can create issues with the mid frequencies of sounds.
Get Your Acoustic Panels and Installation Tips From Soundproof Cow Today
If you need help with your acoustic panel setup, Soundproof Cow is only a click away. We don’t think you’ll need any assistance getting these panels in place, but if you do, one of our experts will be happy to talk you through the process. We’ll figure out the best method for attaching your acoustic panels and make sure you have the technique down.
Our team is also happy to advise you on how to soundproof any room or area. If acoustic panels are the best option for you, that’s great. But maybe there’s another soundproofing solution that will work better or work well in conjunction with your acoustic panels. We’ll help you figure all that out. Check out our products by application to see what will suit your needs.
Learn More About Acoustic Panels

About Kellen Beaver