0 ItemsView Cart
August 29, 2023
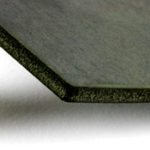
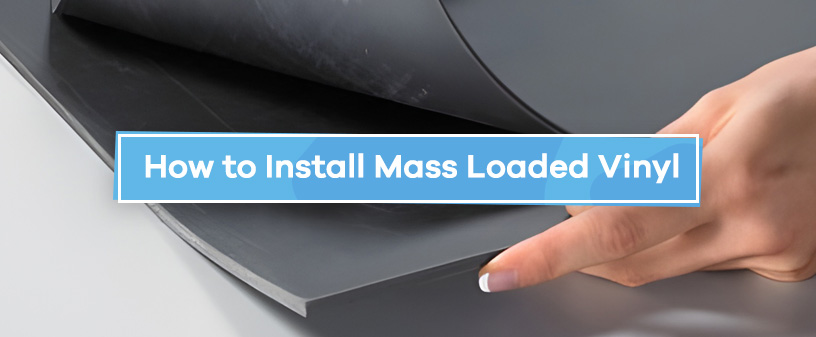
Mass loaded vinyl (MLV) is an effective noise-reduction product installed in walls, floors, and ceilings to act as a sound barrier, similar to green glue or lead sheeting. MLV offers straightforward installation, whether you are a sound engineer or DIYer. We’ll walk you through the installation step-by-step.
Best Uses and Places to Install MLV
MLV is best combined with drywall and plywood, though there are other building materials you might combine it with. MLV is appropriate for residential, commercial and even industrial applications. Whether you have a home office, a sound studio, a restaurant or an office in a bustling area, you can use MLV to create a quieter space. You may wish to combine MLV with complementary soundproofing measures for optimal performance.
Materials Needed to Install Mass Loaded Vinyl
First, you’ll need the following tools to install mass loaded vinyl:
- Mass loaded vinyl: Select MLV with or without pressure-sensitive adhesive
- Stepladders: You’ll need to reach the top of the wall or the ceiling.
- Tape measure: A tape measure will help pinpoint exact measurements.
- Pencil or chalk: Use these to mark out measurements.
- T-square or a straight edge: These help guide the cutting blade.
- Utility blade: You need a sharp, precise knife to cut the MLV.
- Hammer, pneumatic cap stapler or heavy-duty nail gun: Use these to install the fasteners.
- Roofing nails, cap staples or collated nails: The fasteners keep the MLV attached to the frames.
- Washers: Add a washer if your fastener is not fitted with a cap.
- Acoustical sealant and caulking gun: To seal gaps, you need a high-performance acoustical sound sealant for optimal results.
- Construction adhesive: You will need to order soundproofing construction adhesive when applying MLV to floors.
- Vinyl tape: You will want to purchase Quiet Barrier® tape to help seal the seams between MLV sheets.
The following are recommended optional extras:
- Putty pads
- Adequately sized plywood sheet
- Drywall lift
How to Install Mass Loaded Vinyl on Walls
Before starting, you may want to apply putty pads to all electrical outlets and switches. Also, if using MLV with pressure-sensitive adhesive — or self adhesive mass loaded vinyl — you may peel off the backing instead and apply the MLV by pressing firmly against the material as it sticks to the studs.
The following instructions outline how to install mass loaded vinyl on walls:
- Measure the wall from ceiling to floor, then subtract 1/8 inch-¼ inch.
- Measure the distance between the stud centers — it is highly advisable to have MLV seams meet at the center of the studs.
- Use your pencil or chalk to mark the precise point on the top frame where you will fasten the MLV — leave equal spacing at the floor and ceiling.
- Place your Quiet Barrier® on the floor and roll it out. Use the chalk or pencil to mark the length and width measurements.
- Take your T-square or straight edge to guide your utility blade while you cut the MLV along the guiding lines.
- Lift the MLV and have an assistant hold and support the MLV — equally between floor and ceiling — straight across the top while you position the MLV in the first top corner. Be sure to use stepladders safely if needed.
- Staple or nail through the MLV into the studs — add a fastener every 8 inches along the top and length of the studs.
- As you move along the wall and hang the MLV, press it against the electrical outlets, switches and other objects. Then use your utility knife to cut around the edges to expose the boxes.
- Continue installing each MLV piece until the wall is covered.
- Where the MLV pieces meet at a stud, press the pieces together but do not overlap them. You can use your acoustical sealant and vinyl tape to seal the breaks.
- If the seams meet between studs, allow them to overlap 2 inches, use your adhesive to secure them, and notch the ends on the top and bottom to allow space for drywall installation.
- Use your acoustical sealant after installation to seal any seams, particularly around the perimeter and between MLV pieces.
- Ensure the MVL is fully secured, and then hang your drywall over the MLV.
- Seal the seams with acoustical sealant around the drywall perimeter.
How to Install Mass Loaded Vinyl on Existing Walls
Many of the steps to install MLV on existing walls are similar to installing on bare studs. Use a stud finder to locate the studs in the existing wall, mark their locations and then screw furring strips on vertically through the drywall and into the existing studs. Once the furring is installed, you can follow the steps to install MLV.
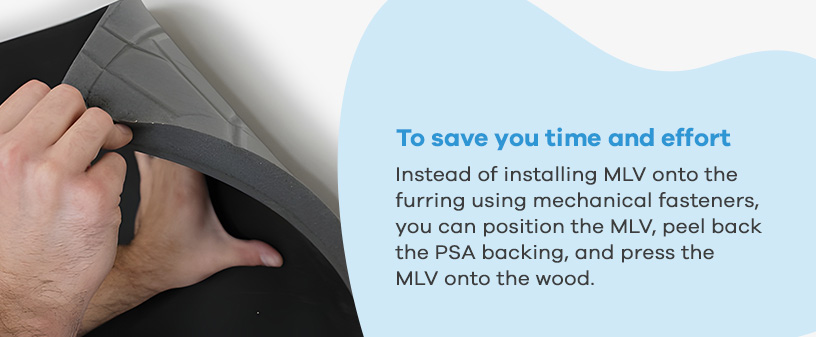
To save you time and effort, you can use self-adhesive mass loaded vinyl. Instead of installing MLV onto the furring using mechanical fasteners, you can position the MLV, peel back the PSA backing, and press the MLV onto the wood. Then you would seal as usual and hang the new drywall over your MLV installation.
How to Install Mass Loaded Vinyl on Ceilings
You can install the MLV above the joists, but this takes greater preplanning. Instead, the most common method is to attach the MLV to the joists. It is advisable to use mechanical fasteners for ceiling installations:
- Lie your measured and cut MLV on your pre-measured and pre-drilled plywood.
- Use your drywall lift to raise the board with the MLV on it into position.
- Nail the MLV in place — every 8-12 inches — through the pre-drilled holes. Ensure the holes are big enough to free the board afterward.
- Lower the lift and secure the drooping center of the MLV in place.
- Avoid seams meeting between joists — ensure they butt up where you can mechanically fasten them.
- Continue attaching the MLV to the ceiling, like you would for a wall, until you finally install the drywall.
How to Install Mass Loaded Vinyl on Floors
Installing MLV to floors is likely the easiest of the three, as you don’t need to hold it up while fastening. Follow these steps:
- Measure your floor surface adequately and account for walls and trim boards.
- Lay the MLV out in a brick formation and use chalk or a pencil to mark any necessary cuts.
- With all your material laid out, ensure a ¼-inch gap around the perimeter for acoustical sealant later.
- Mark where the MVL piece edges fit on the floor, and cut the MLV using the utility knife and T-square.
- Use the caulking gun to apply adhesive to the MLV — create a perimeter 1 1/2 inches from the edge and make an X across the center. Alternatively, peel off the PSA adhesive and press it to the floor.
- Carefully roll the MLV onto the floor — into the marked outline you made — and press out any bumps caused by the adhesive.
- Continue the process for all remaining pieces.
- Seal the seams with an acoustical sound sealant once the material is set.
Tips for Installing MLV
Before you begin, there are a few tips on how to install MLV:
- Order an adequate amount of MLV to cover the surface.
- Measure carefully before cutting.
- Choose a pneumatic cap stapler or nail gun for more efficient installation.
- Install your MLV vertically on walls and, for ceilings, align the length with the direction the joists run.
- Cover the surface, whether wall, floor or ceiling, to ensure the desired effect.
- Install MLV on all surfaces, even if the sound originates from one direction.
- Use acoustical sealant generously and seal all seams, perimeters, cracks and penetrations — including around electrical outlets.
Order Your MLV Sound Barriers From Soundproof Cow
Now that you know how to install mass loaded vinyl, it is time to take a look at the Soundproof Cow Quiet Barrier® range of MLV for premium quality noise reduction that is effective and easy to install. The material is safe to use and provides a seamless sound barrier embedded directly in your infrastructure, adding far more sound dissipation than traditional building materials.
Our range of MLV blocks external noises and contains sound waves in a room — offering the best all-around sound solution for improving the surfaces’ sound transmission class (STC). For additional advice on how to find a soundproofing solution for your space, contact Soundproof Cow today!


About Kellen Beaver